Wednesday, May 22, 2013

no time for blogging this week...

WE'RE ON VACATION,
 
and loving every minute!

 
Island life,
 
 
 (even the little critters),


suits us quite nicely!

Hope everyone is having a lovely week!

Tuesday, May 14, 2013

a fresh batch of play dough

Carson and I are really into play dough lately.  We "bake" with it, build with it, squish it, squash it, throw it to the dog and sometimes we even eat it (I only took one little taste)!

We used to make our own play dough all the time when I was little.  Now, since Carson's been caught sneaking a piece into his mouth here and there, it seems that we should be using the homemade version around here too!  It's completely edible (though I certainly won't be trying it twice).

It's an easy, easy project with ingredients that you probably have around the house.  You may not have cream of tartar, but go ahead and buy some so you can make these cookies when you're finished making play dough!

Here's what you need to make play dough:

1 cup flour
1/2 cup salt
2 tablespoons cream of tartar
1 tablespoon oil
1 cup water 
food coloring

Mix flour, salt, cream of tartar and oil.  Add water and mix well.  Cook over medium heat, stirring constantly for 3-5 minutes.  It will quickly go from soupy, to lumpy to one big clump.
When the clump forms, remove from stove, let cool a little and knead slightly.  Add food coloring,(separate into multiple pieces if you'd like) and continue to knead until it's all mixed and play doughy!
Carson chose the colors.  We've got red, blue and black.  I would have gone for some turquoise, myself, but he was set on black.
I used 2 drops of gel food coloring to get vibrant colors.  If you're in the market for new food coloring, I love this stuff.  It comes in great colors and a little goes a loooong way!
Store your dough in a sealed plastic bag and it will last a long time!  This makes quite a bit.  I halved the recipe to get a more reasonable amount for one little toddler.


Thursday, May 9, 2013

play dough + pretend = perfect cookies every time!

Now that Carson's kitchen is finished and broken in, we're cooking up all sorts of tasty treats!  He really loves "baking" with play dough.  It's the perfect medium for rolling into cookies, cupcakes, hotdogs, you name it - we bake it!

Last weekend Jeff and I figured it would be fun to make a little kitchen magic so...

Carson put some play dough cookies in his oven right before nap time...

and when he woke up, there was a tasty sugar cookie all baked up in there!

YUM!

These cookies really are crazy delicious!
The recipe comes from a little Hot Spot called SWIG out in St. George, Utah.  One of my co-workers sent me this adapted recipe, knowing that I love to bake.  She claims that they are the BEST sugar cookie out there, and I just might agree. 

Recipe for SWIG sugar cookies (or something similar)

Cookies

1 cup butter (room temperature)
3/4 cup vegetable oil
1 1/4 cup sugar
3/4 cup powdered sugar
2 Tablespoons water
2 eggs
1/2 teaspoon baking soda
1/2 teaspoon cream of tarter
1 teaspoon salt
5 1/2 cups flour

Directions
  1. Preheat oven to 350.
  2. Cream together butter, oil, both sugars, water, and eggs.
  3. Combine baking soda, cream of tartar, salt and flour.
  4. Slowly add dry ingredients to butter mixture.
  5. Mix until everything is combined.  The dough should be on the crumbly side, NOT sticky.
  6. Place golf ball sized balls on your cookie sheet (I always use a silpat).
  7. Now, here's the fun part that makes these unique.  Grab a glass and a little bowl of sugar, dip the bottom of the glass into the sugar.  You're going to use this to flatten the cookies. 
  8. Firmly press each dough ball (see the pic above).
  9. Bake at 350 for 8-10 minutes.  They should be only very slightly brown on the edges.  

Greek yogurt frosting

1/2 cup butter (room temp)
3/4 cup plain greek yogurt
1 cup + powdered sugar
1 teaspoon salt
a splash of milk
food coloring (if desired - I used blue to match the play dough)

Directions 
(this is definitely not an exact science)

1. Cream together butter, yogurt and salt.
2. Slowly add powdered sugar.
3. As it thickens, add a splash or two of milk.
4. Keep adding sugar and milk until it tastes just right.
5. Add food coloring and whip on until perfectly creamy!

Now frost those cookies and enjoy!  They certainly taste a lot better than the play dough version!

But, if you're looking to make both, I'll post the recipe for homemade play dough soon.  It's super easy and it uses the same ingredients as these cookies!

Monday, May 6, 2013

it's all in the details

I'm finally back to the blog!  Last week was full of work meetings and a hard drive crash.  Now, I'm learning to navigate my brand new computer ~ feeling a little lost, but hopefully I'll get the hang of it soon.

Anway...
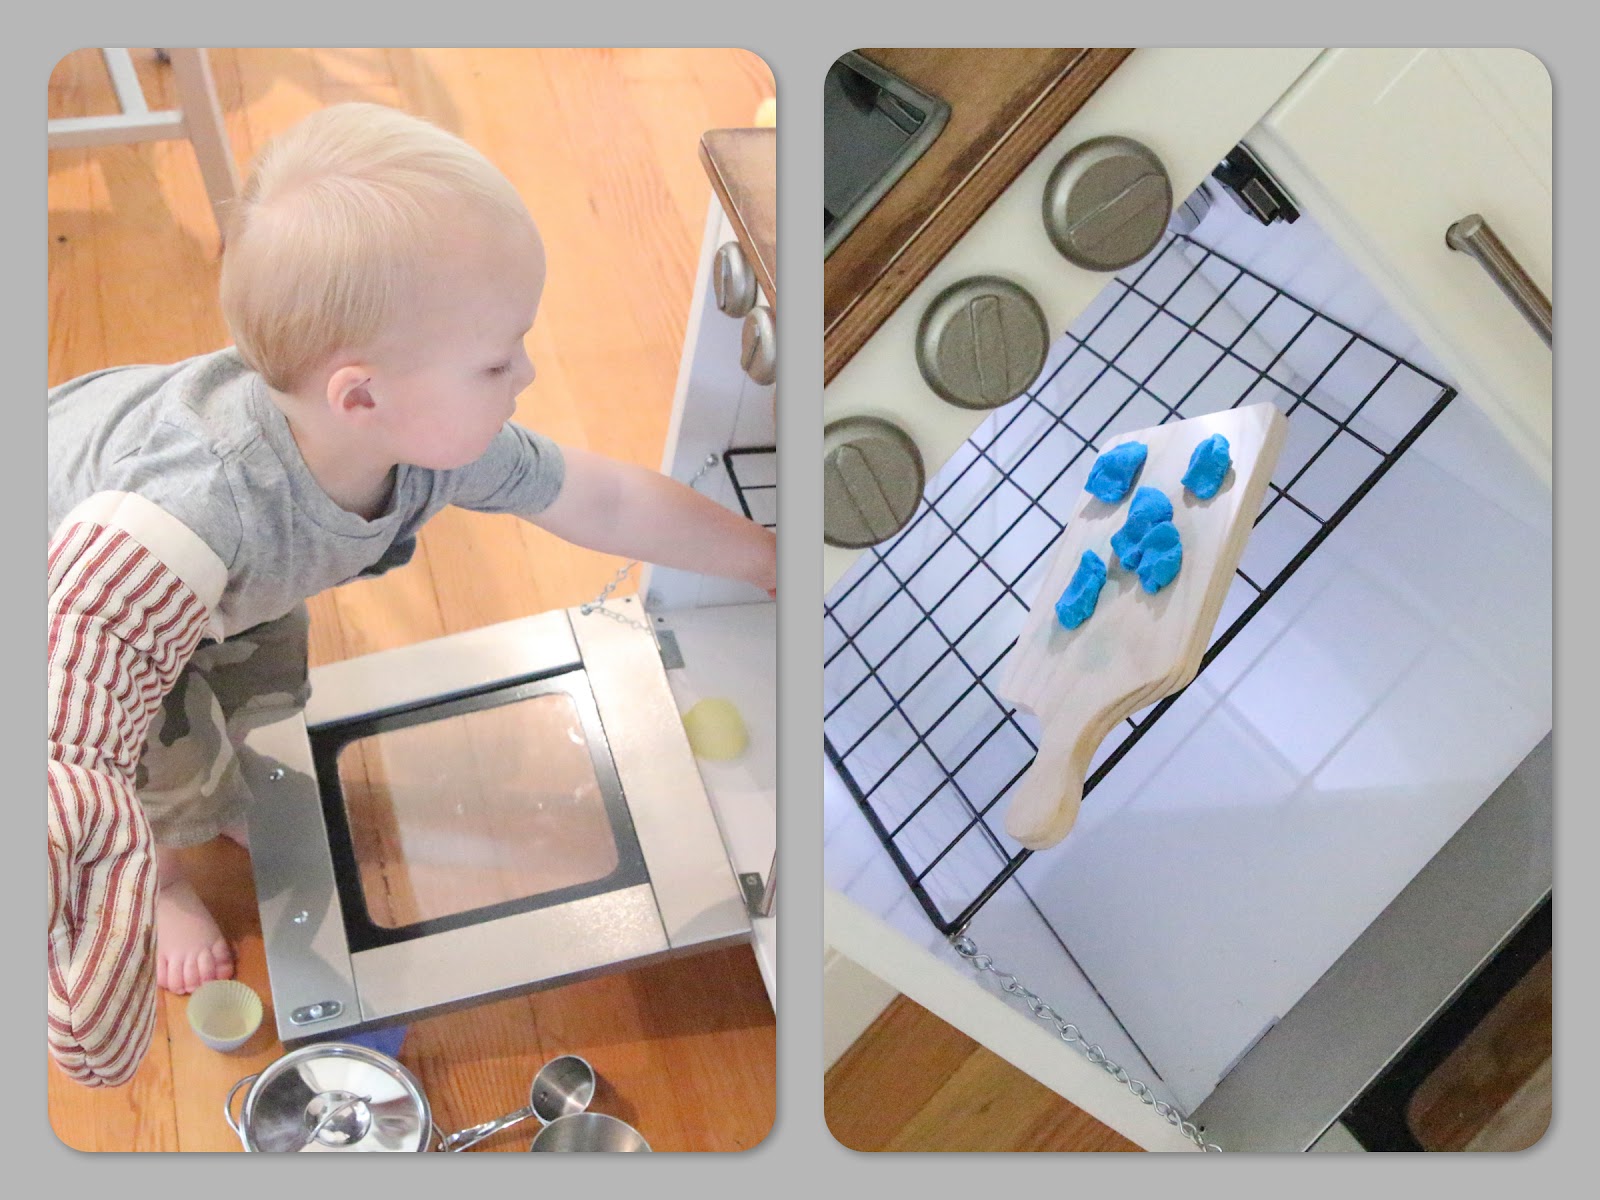
I want to share one more post on Carson's kitchen.  I had such a great time adding the little details, I've just got to share.

Carson actually has his dad to thank for the grown up details in his new kitchen.  Jeff firmly said "NO MORE crazy kid's stuff in the house".  So, I had to promise that this little kitchen would be aesthetically pleasing.  I must admit, these details were really for the grown-ups more than the little guy.  He doesn't seem too impressed by the tile backsplash, but we are!

I've already shown you the updated paint job and the new handles.  Carson's kitchen also has a refinished countertop, beadboard cupboards and a tile backsplash (all to match the "real" kitchen).

I refinished the countertop by sanding down the Ikea plywood, then waxing it with Briwax tudor brown to make it look like our butcher block.

I added the knobs on the sides for hanging this and that.  These were leftover from our real kitchen remodel so they are exactly like our cabinet knobs.  Right now he's got a chalkboard (I made this using a plaque from Michael's and some chalkboard paint) and his apron.

We've got beadboard cupboards in our kitchen, so now Carson does too.  I used this wallpaper.  I had already purchased it with a plan to update the downstairs bathroom.  That hasn't happened yet, but hopefully it will one of these days.  At least my wallpaper purchase came in handy for my mini kitchen remodel.  I simply cut a small square of the paper and followed the instructions (wet, wait 5 minutes, stick).  I let it dry for 24 hours, then painted it with the same paint (Dunn Edwards Whisper White) that I used on the rest of his (and our) kitchen.
His backsplash was made using leftover tile from our backsplash.   I just LOVE these subway tiles.  I chose them for our kitchen because they're a classic subway tile with a little twist, a beveled edge.  They're also very affordable!
I just used liquid nails to stick the tiles to a really thin piece of wood I found in the garage and cut to size.  Once the tiles were stuck nice and tight I used sanded caulk to fill in the grout lines (also left over from our kitchen remodel).
I used teeny tiny screws to attach the board and backsplash to the back of the kitchen.

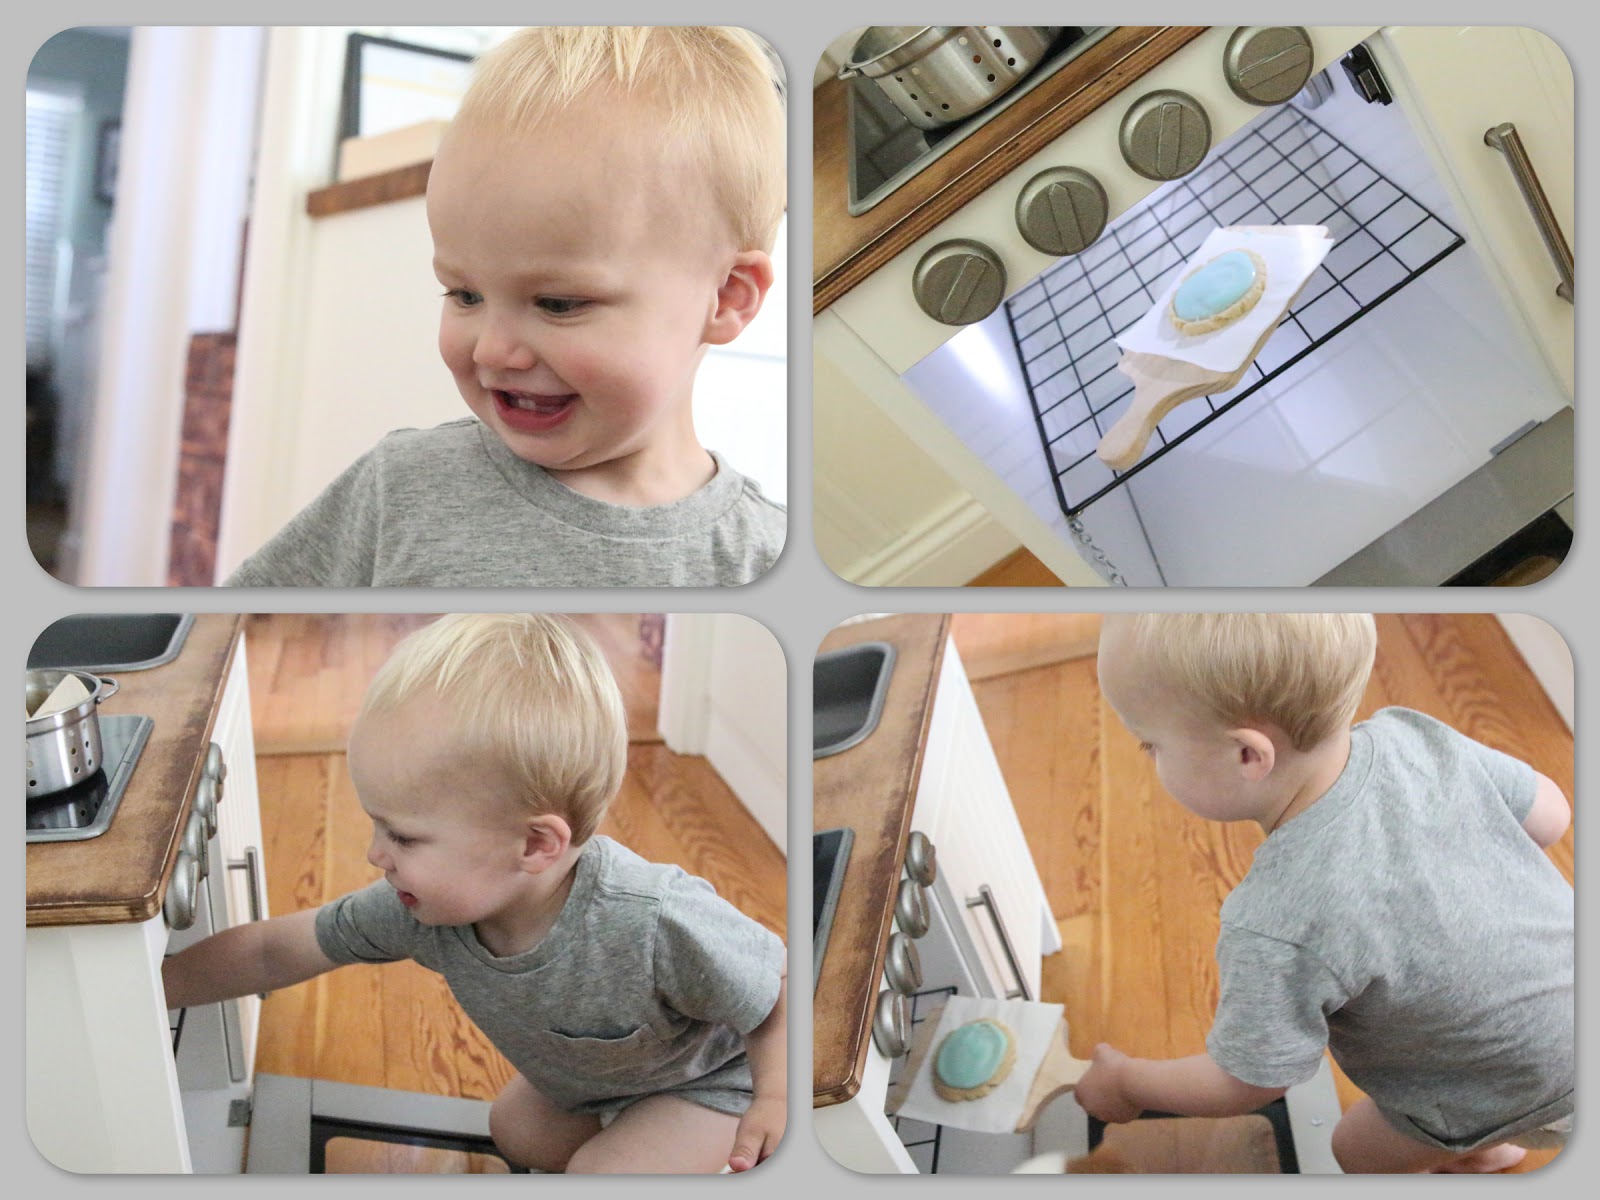
Here's another pic of the final product!  For more on the grown-up kitchen click here or here!